Docker has kinda become an essential tool for developers who want to containerize their applications, making it easier to build, deploy, and manage software. In this guide, I'll walk you through the steps to install Docker on a DigitalOcean Droplet.
# Prerequisites
- A DigitalOcean account: If you don't have one, you can sign up here.
# Option 1: 1-Click Install App
This is the simplest route to take if you're creating a brand new droplet and just want to have Docker installed on it. Instead of selecting the OS you'd like to install, switch to the Marketplace tab and select Docker from list.
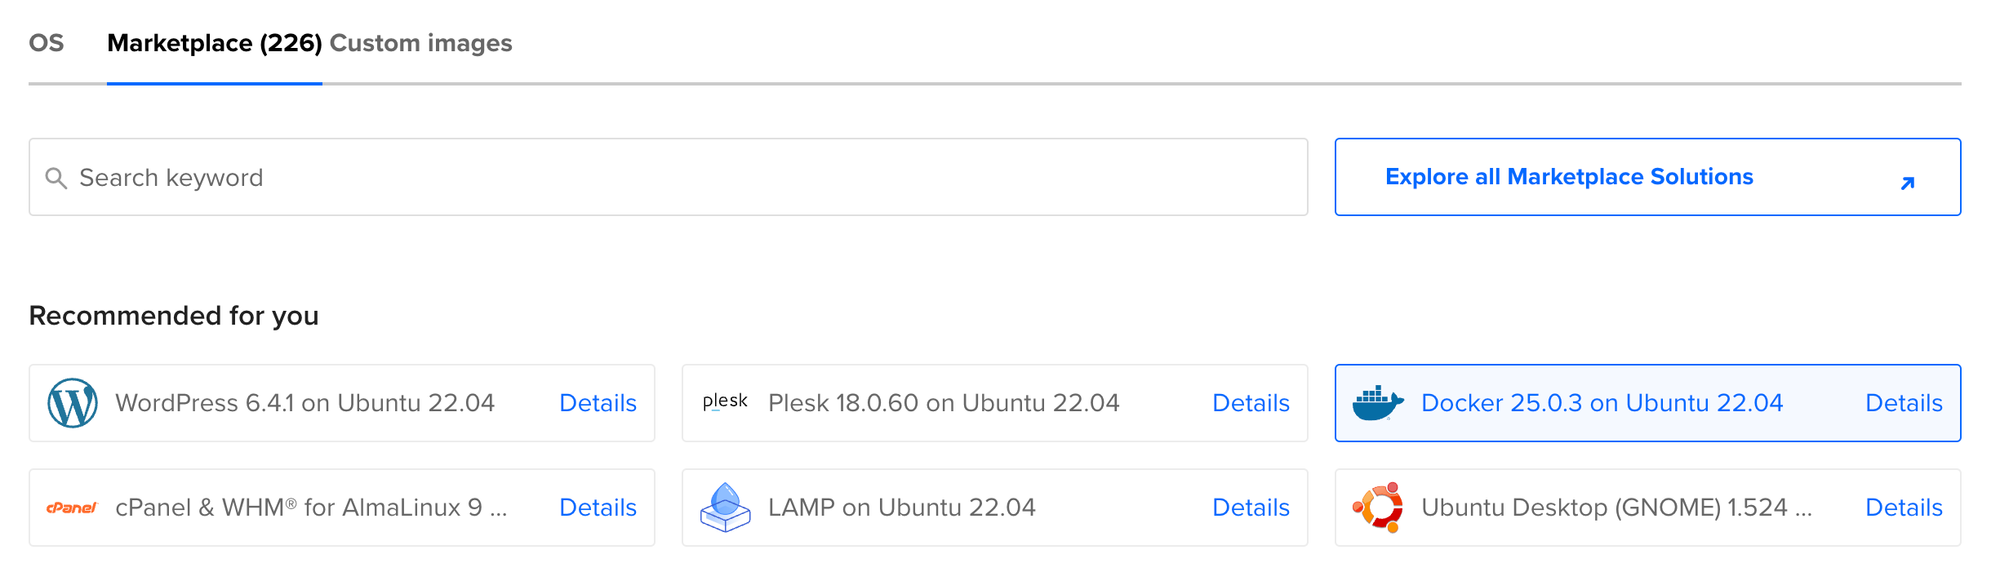
The drawback of this approach is that it can only be done on new Droplets — you're gonna have to install Docker manually for existing VMs. But there's another hidden drawback that you don't get instantly told about: the OS version.
See, when DigitalOcean creates a 1-Click App, they make it for a specific Operating System, and a specific version of it. For example, as of May 2024, the Docker 1-Click App is using an Ubuntu 22.04 image.
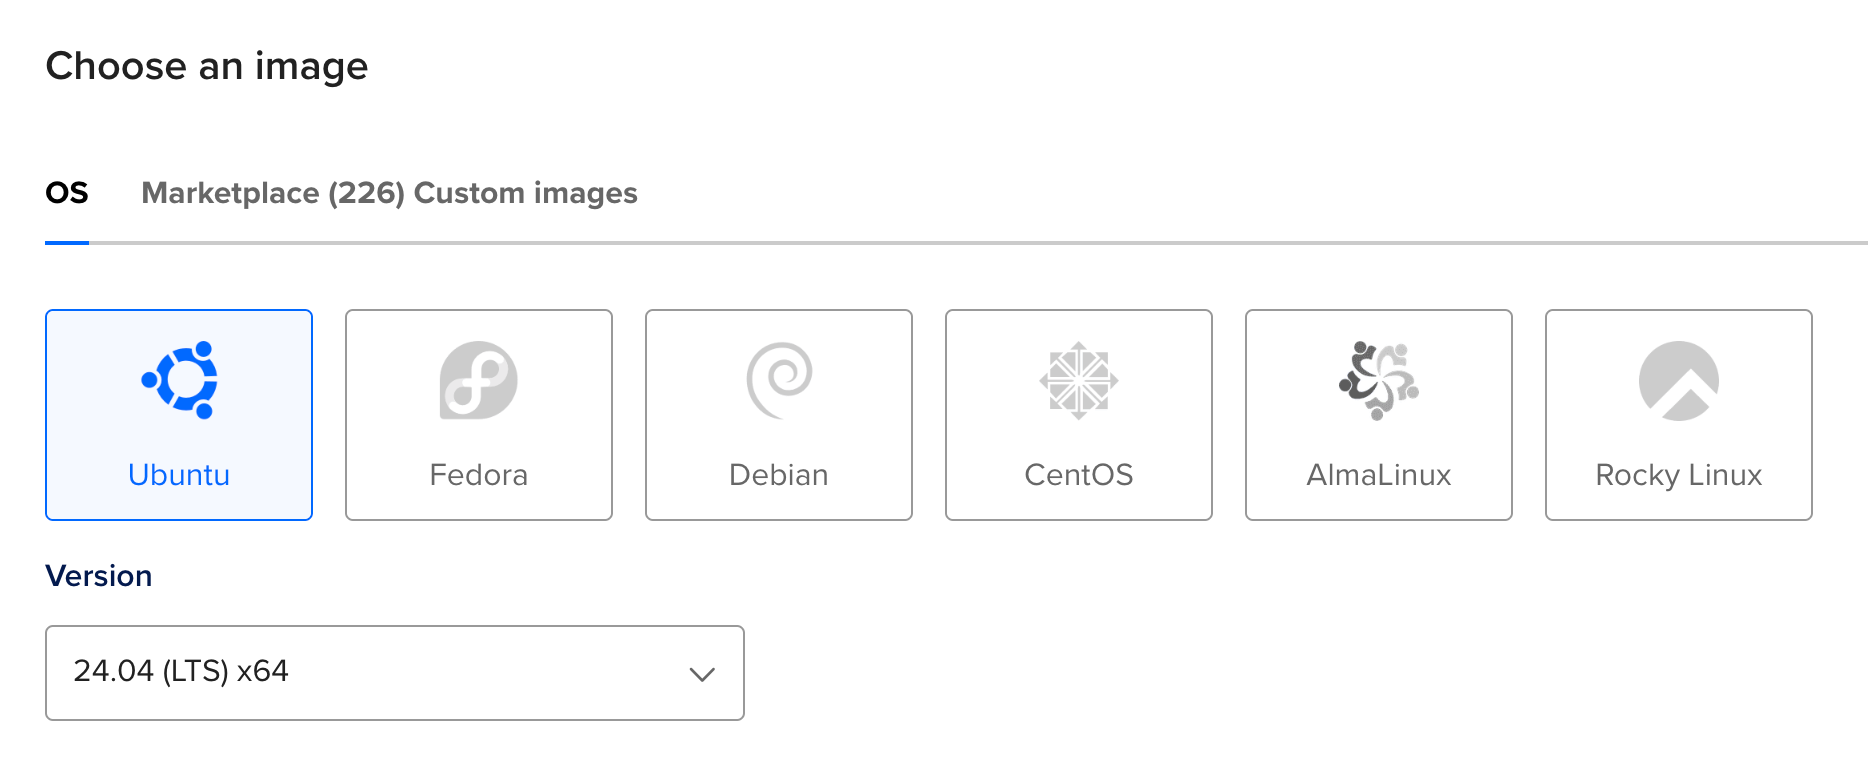
However, if you go back to the OS tab, you'll notice that a newer version of Ubuntu is probably available (in this case, 24.04).
Not to mention how Docker's 1-Click App is only for Ubuntu. Prefer Debian or Fedora? Tough luck! Well, not so much, this is where Option 2 comes in.
# Option 2: Convenience script
Docker actually has its own a convenience script that you can use to install Docker on any Linux distribution. It's a 2-liner that you can run on your Droplet to install Docker. The only requirement is that you have curl installed on your system.
bashcurl -fsSL https://get.docker.com -o get-docker.sh
sudo sh get-docker.sh
You can't really get any simpler than that!
# Option 3: Manual Installation
If you don't wanna use the convenience script because you'd rather see the whole process or customize it, you can just install Docker manually on your VM.
Unfortunately this process varies slightly depending on your OS, so to keep things simple, we'll assume you wanna use Ubuntu 23.04 here. But if there's a different OS you'd like to target, you can check out the Docker Engine for Linux documentation here.
# Step 1: Check for, and uninstall, previous versions
This might sound like a weird one, but sometimes an OS can ship with an old version of Docker that is no longer maintained. You don't wanna use those, trust me. It's always better to use an official distribution. So let's uninstall all of those conflicting packages. To do so, run this in your Droplet:
for pkg in docker.io docker-doc docker-compose docker-compose-v2 podman-docker containerd runc; do sudo apt-get remove $pkg; done
# Step 2: Update the system
Before installing any new software, it's a good idea to update your system. Run the following commands:
bashsudo apt update
sudo apt upgrade
# Step 3: Install required packages
Now we need to install some packages that will allow us to download and install Docker. Run the following command:
bashsudo apt-get install ca-certificates curl gnupg
# Step 4: Add Docker's official GPG key
Docker's official GPG key is used to verify the integrity of the packages you download. Run the following command to add it to your system:
bashsudo install -m 0755 -d /etc/apt/keyrings
curl -fsSL https://download.docker.com/linux/ubuntu/gpg | sudo gpg --dearmor -o /etc/apt/keyrings/docker.gpg
sudo chmod a+r /etc/apt/keyrings/docker.gpg
# Step 5: Add the repository to the apt sources
This will basically tell apt to check Docker's repository for updates to the Docker binaries when running apt-get update.
bashecho \
  "deb [arch="$(dpkg --print-architecture)" signed-by=/etc/apt/keyrings/docker.gpg] https://download.docker.com/linux/ubuntu \
  "$(. /etc/os-release && echo "$VERSION_CODENAME")" stable" | \
  sudo tee /etc/apt/sources.list.d/docker.list > /dev/null
sudo apt-get update
# Step 6: Install Docker!
Finally, we can install Docker itself. Run the following command:
bashsudo apt-get install docker-ce docker-ce-cli containerd.io docker-buildx-plugin docker-compose-plugin
# Wrapping up
And that's it! You can check that Docker is working fine by running the hello-world image:
bashsudo docker run hello-world
Next time in this series, we'll talk about how to create a private Container Registry on DigitalOcean — without using their managed and overpriced Container Registry product.
Until next time — happy coding!
