In the previous guide, we walked through the process of creating a DigitalOcean Droplet. If you followed those steps, you now have a virtual machine up and running, and are ready to go. In this second part of our series, we will focus on securing your Droplet to ensure it's safe to share with the world.
# Prerequisites
Before we proceed, let's quickly recap what you need:
- A DigitalOcean Droplet: If you haven't set up a Droplet yet, refer to the first part of this series.
- Basic SSH knowledge: Familiarity with SSH will come in handy for remote server access.
# Step 1: Connect to Your Droplet
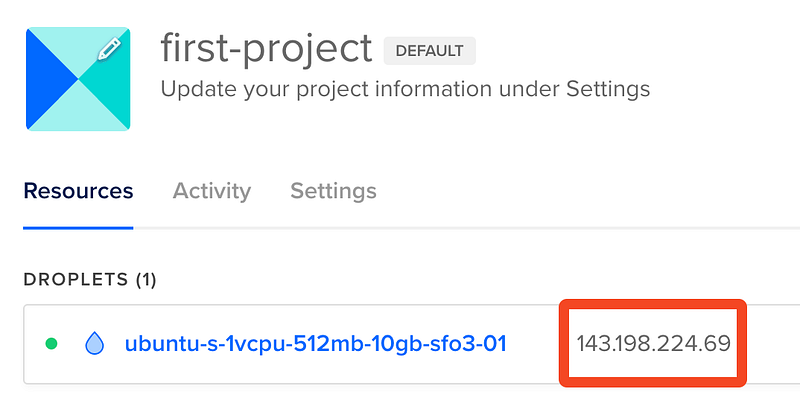
Before you can secure your DigitalOcean Droplet, we need to remotely access your server using SSH. First, let's get your Droplet's IP address by logging into your DigitalOcean dashboard. You'll be able to see the IP right next to the droplet hostname.
Open your terminal run the following command, replacing your_vm_ip with your Droplet's IP address:
bashssh root@your_vm_ip
You'll be prompted to enter your user's password or, if you've configured SSH key authentication (like you should have!), you can use your private key to log in. Once connected, you're ready to proceed!
# Step 2: Update Your Server
The first step in securing your Droplet is ensuring your server is up-to-date with the latest security patches and software updates. To do so, run the following commands:
bashapt update
apt upgrade
This keeps your system protected against known vulnerabilities. You should probably log back in and run this again every now and then to make sure your system remains up-to-date.
# Step 3: Configure a Firewall
A firewall is your first line of defense against unauthorized access. For this we'll use “UFW” (Uncomplicated Firewall), which will restrict access only to the necessary ports.
In case your Droplet's image doesn't come with UFW pre-installed, you can install it by running this command:
bashapt-get install ufw
Once UFW is installed, we can enable it by running the following command:
bashufw enable
This will turn on the firewall and block all incoming connections. To allow certain incoming connections, we can use the ufw allow command. For example, to allow incoming SSH connections, we would run the following command:
bashufw allow OpenSSH
We can also specify the port number to allow connections on a specific port. For example, to allow HTTP connections on port 80, we would run the following command:
bashufw allow 80/tcp
Once we've set up our firewall rules, we can verify them by running the following command:
bashufw status
This will show a list of the firewall rules we've set up, along with the current status of the firewall.
# Step 4: User Management
For added security, let's create a new user and grant them sudo privileges. This is best practice for security, as it's not recommended to use the root user for day-to-day tasks.
- Let's create a new user. Replace
richardwith your desired username:
bashadduser richard
- You'll be prompted to enter a password for the new user. Make sure to choose a strong, unique password.
- Now that we have a new user, we need to give them access to administrative tasks. To do this, we'll add the new user to the sudo group. Run the following command, again replacing
richardwith your own username:
bashusermod -aG sudo richard
Great, now you have a dedicated user with sudo access!
# Step 5: Disable Root Login and Passwords
For the rest of the guide, you can actually log in with your new user and try it out, so go ahead and do that. Just to tighten things up a bit more, we should also disable direct root login, since you no longer need it. Here's how to do that:
- Open the SSH configuration file for editing:
bashsudo nano /etc/ssh/sshd_config
- Find the line that says
PermitRootLogin yes, and change it toPermitRootLogin no. While we're here, you might also want to find the line that says#PasswordAuthentication no, and change that toPasswordAuthentication no. This will straight-up disallow logging in with the root user at all, but also disallow logging in with passwords on any user - Then, press
Ctrl+Xand type inYat the prompt to save and exit the editor. - To apply the changes, restart the SSH service:
bashsudo systemctl restart ssh
With this change, direct root login is disabled, so only your new user will be able to login to your Droplet, which adds yet another layer of security to your server.
# Step 6: SSH Key Authentication
As mentioned before, SSH key authentication is a more secure method of accessing your server compared to passwords.
If you already have an SSH key for your root user that you'd like to re-use, you can run this command to copy it over to your new user:
bashmkdir ~/.ssh
sudo cp /root/.ssh/authorized_keys ~/.ssh/authorized_keys
If you'd like to instead create a new SSH Key and attach it to your user, GitHub has a fantastic guide on how to do just that.
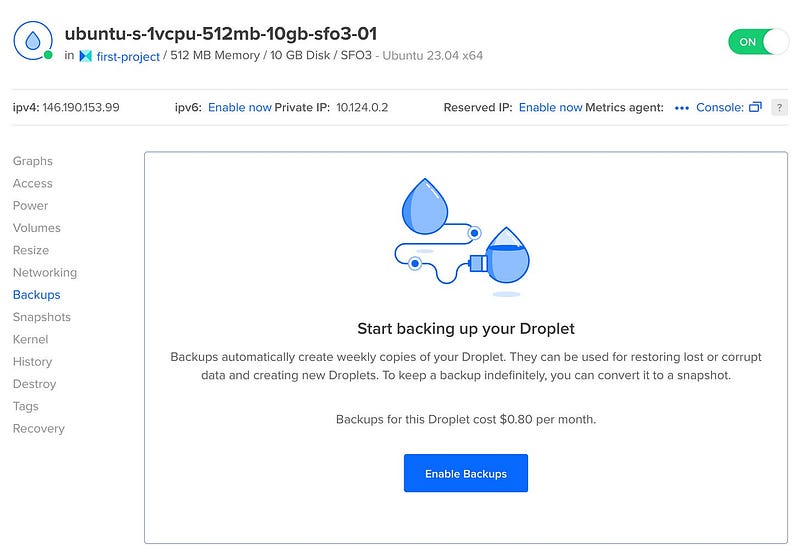
# Step 7: Regular Backups
Finally, DigitalOcean has a backup feature which you should probably enable. It acts as a safety net in case something catastrophic goes wrong. It costs a tiny bit, and scales based on your droplet size, but it's better to be safe than sorry!
# Conclusion
By following these steps, you've taken significant measures to secure your DigitalOcean Droplet. Server security is an ongoing process, so stay vigilant, keep your software up-to-date, and regularly apply security updates.
In the next part of this series, we will explore advanced topics such as installing Docker on a droplet, creating a private Container Registry, and more.
Until next time — happy coding!
