DigitalOcean is a cloud infrastructure provider that is all about making things simple and cost-effective. Compared to similar offerings from AWS, Azure, and Google Cloud Platform, it easily takes the cake for being the most straightforward and affordable option.
I use it for everything, from Droplets, to Spaces, to Managed Databases, even Kubernetes clusters. It's just so simple to get things set up and ready to go. In this first part of a series, I'll walk you through the process of creating a virtual machine (VM), also known as a Droplet, on DigitalOcean.
# Prerequisites
Before you get started, you'll need the following:
- A DigitalOcean account: If you don't have one, no worries! Sign up for one using my link.
- Payment method: You'll need a credit card or a PayPal account for billing.
- Basic SSH knowledge: Familiarity with SSH will come in handy for remote server access.
- Project idea: Know what you want to do with your VM — whether it's hosting a website, running an application, or setting up a cool development environment.
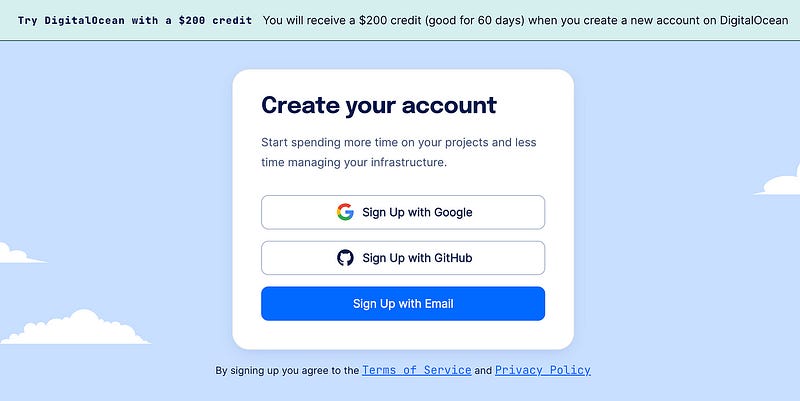
# Step 1: Create a DigitalOcean Account
If you don't have a DigitalOcean account, you can sign up using my link, if you want to get $200 in credit and support me a bit.
# Step 2: Access the Dashboard
Once you're logged in, you'll land on DigitalOcean's dashboard. This is your home base for managing your virtual machines and other resources.
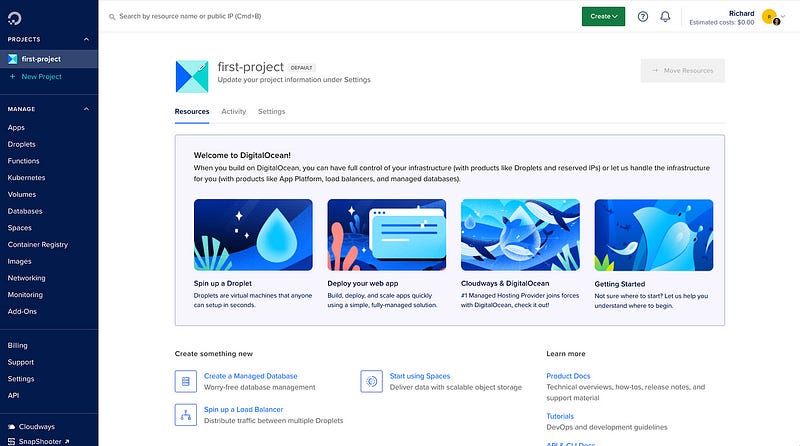
# Step 3: Create a New Droplet (VM)
- Click “Create” on the top, and then select “Droplets”.

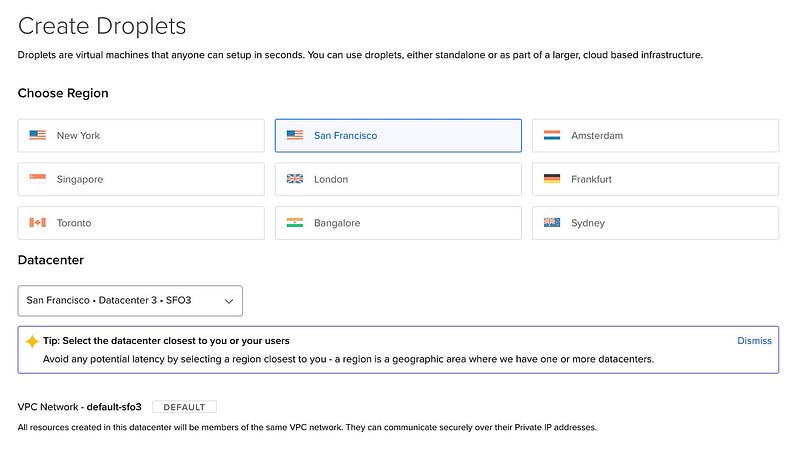
- First, you'll wanna choose the physical location of your Droplet, ideally as close as possible to your target audience. You can also choose a specific datacenter in that region. That last one doesn't really matter as much, but you may prefer to go for the newer additions.
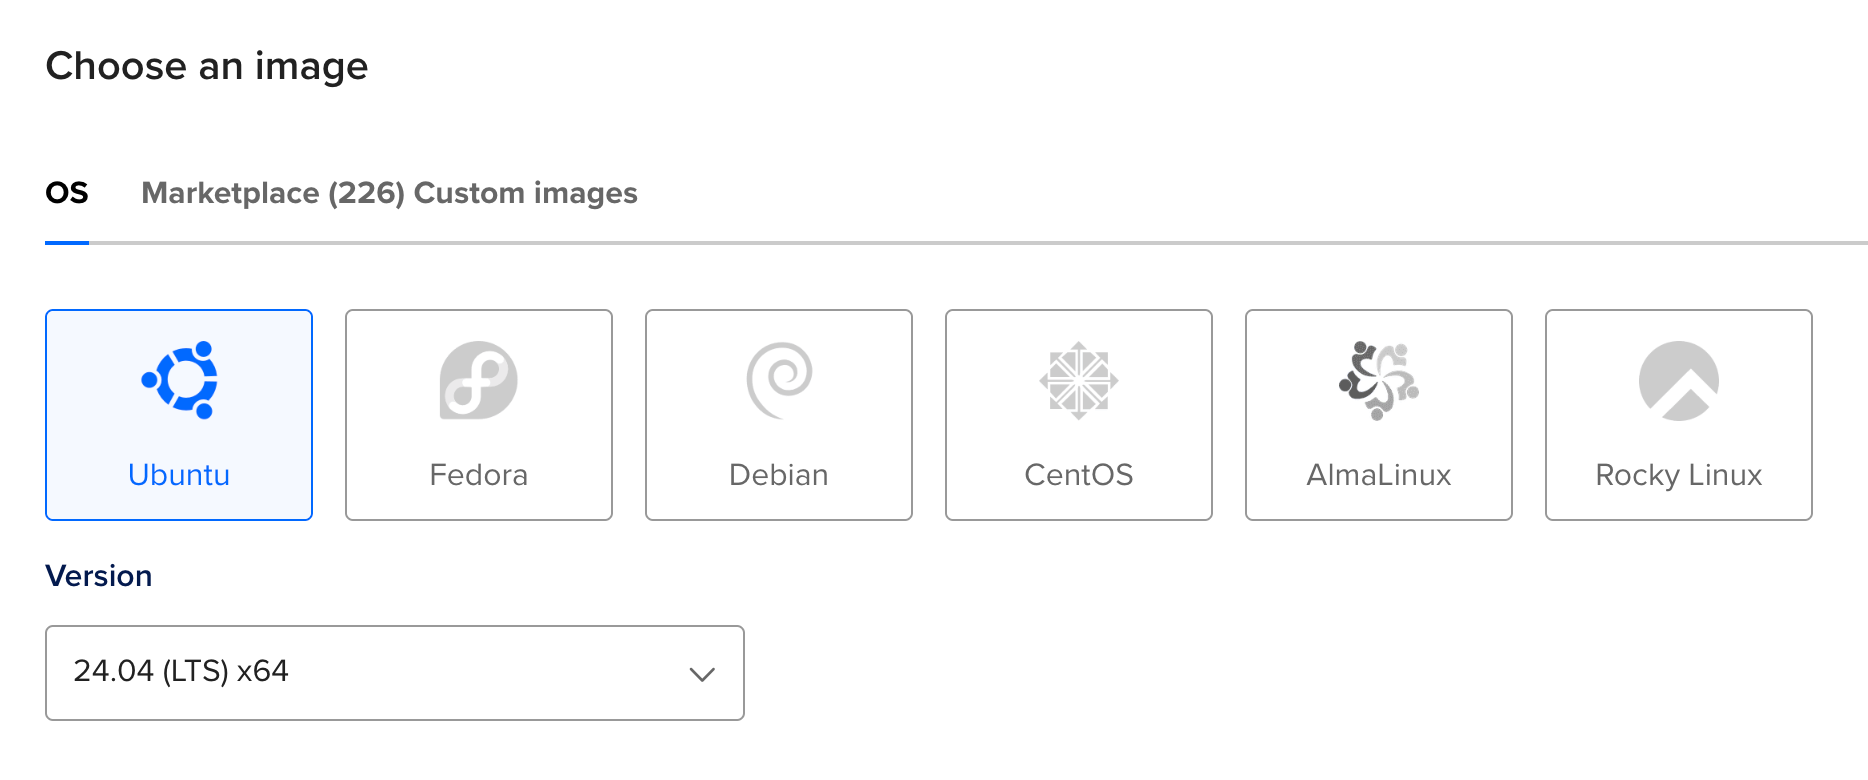
- Next up, we'll select an image to flash on your VM. I usually tend to select Ubuntu and go from there, but you can switch from the OS tab to the Marketplace tab and search for the specific image you need.
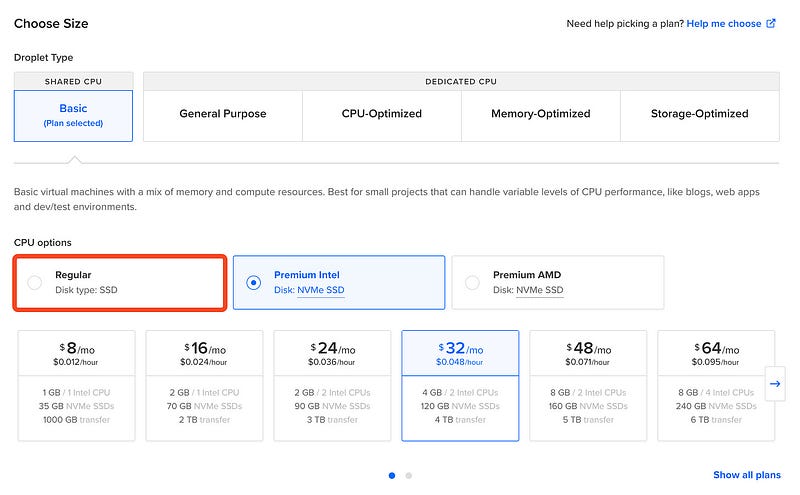
- Now we're getting to the meaty stuff. DigitalOcean offers various plans with different CPU, RAM, and storage options. Don't be fooled into thinking you need the default of a Premium Intel CPU that costs $32 per month. For most workloads, you can easily get by with a Regular plan at either $4 or $6 per month depending on your needs.
- If you need additional storage volumes, you can add them by adding a Block Storage volume. They are generally pretty cheap, and hook right into your Droplet, but for more advanced use-cases I'd recommend DigitalOcean Spaces (more on that in the future).

- It's 2023, you shouldn't be using passwords. Instead you should generate an SSH Key. It's simple, it's painless, and infinitely more secure. Just click on “Add SSH Key” and follow the steps there.

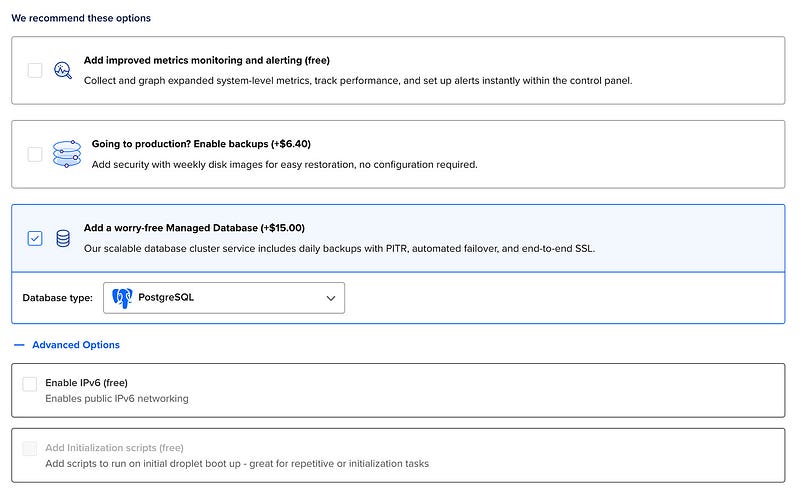
- You should enable the improved metrics monitoring and alerting. Not sure why they don't just bundle it in by default. Backups are nice if you plan on breaking stuff often, so up to you. And adding a managed database might end up being more expensive than your VM itself, so, again, up to you and your needs.
- And finally, give your VM a proper hostname worthy of its purpose!

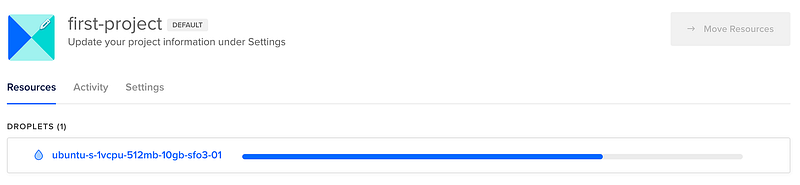
- Click the big blue “Create Droplet” buton to start the creation process. You'll soon see your VM
# Step 4: Access Your Virtual Machine
And that's it! Your droplet is now up and running. You can access it via SSH using the IP address provided in your DigitalOcean dashboard. From here, the digital sky's the limit! Install software, upload files, or start setting up your website.
To access it, open your terminal and type this command, replacing your_vm_ip with your VM's IP Address:
bashssh root@your_vm_ip
# Conclusion
As we saw, creating a droplet on DigitalOcean is a fairly straightforward process. Next in this series, we'll talk about how to properly set up and secure your Droplet so that it's safe to share with the world.
Until next time — happy coding!
